How to take a Professional Headshot at Home
- Touch-up your appearance.
Consider wearing solid-color clothing without distracting patterns.
- Find a proper location with good lighting.
Look for a clutter-free background. A solid-colored wall in your home should be perfect.
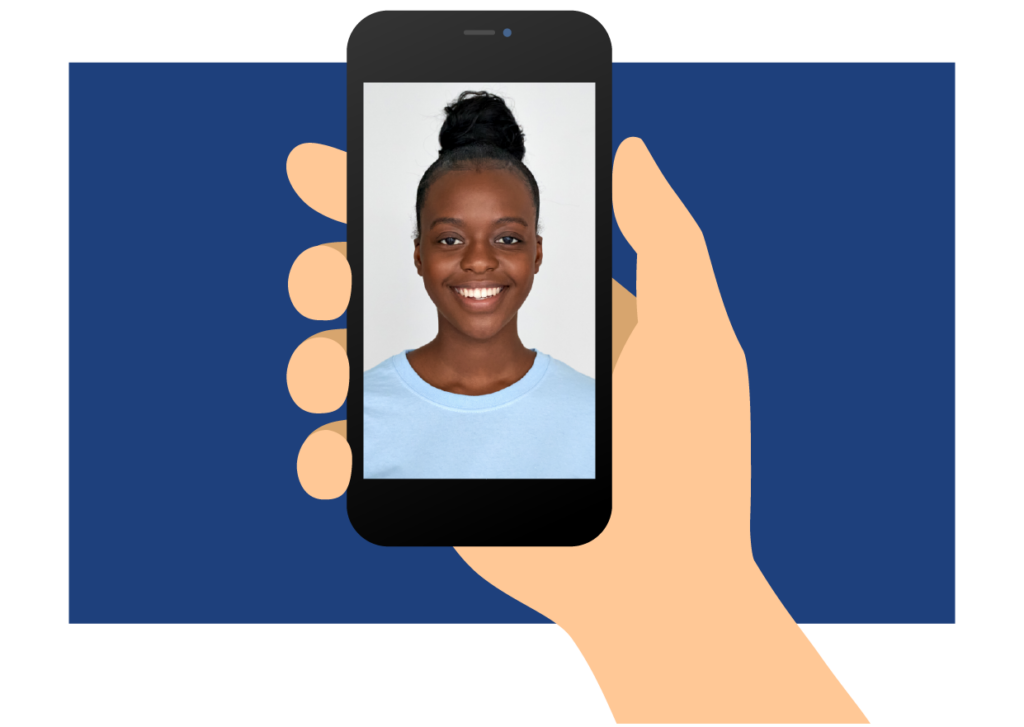
For best results: Try to set up next to a window and turn off any artificial light sources in the room (see example below) and pick a time of day where non-directional light pours into the room. If you wear glasses, choose a location that does not create a glare on them. Use your camera on a self-timer, or grab your spouse/family member to take the photo.
Practice using your self-timer, and set up your phone using a piece of furniture or a tripod. Ensure that your phone is eye-level and steady, and make sure that your settings are on HD, or the highest quality image option. Always use your rear-facing camera if possible. Please avoid taking selfies.Try a few different poses and angles to find the most flattering option.
Smile, make sure to look into the camera lens, and change up your pose. The more you experiment, the better your chances of getting a professional-looking result.- Export the image (without any filters or editing).
Export the original image, without resizing or editing it. For more information on how to export an image to your computer, please reference the following articles: Exporting Images on iPhone, Exporting Images on Android. If the image needs resized, edited, or processed further, please Submit a Ticket and our Web and Creative Services team will assist you. Good luck!